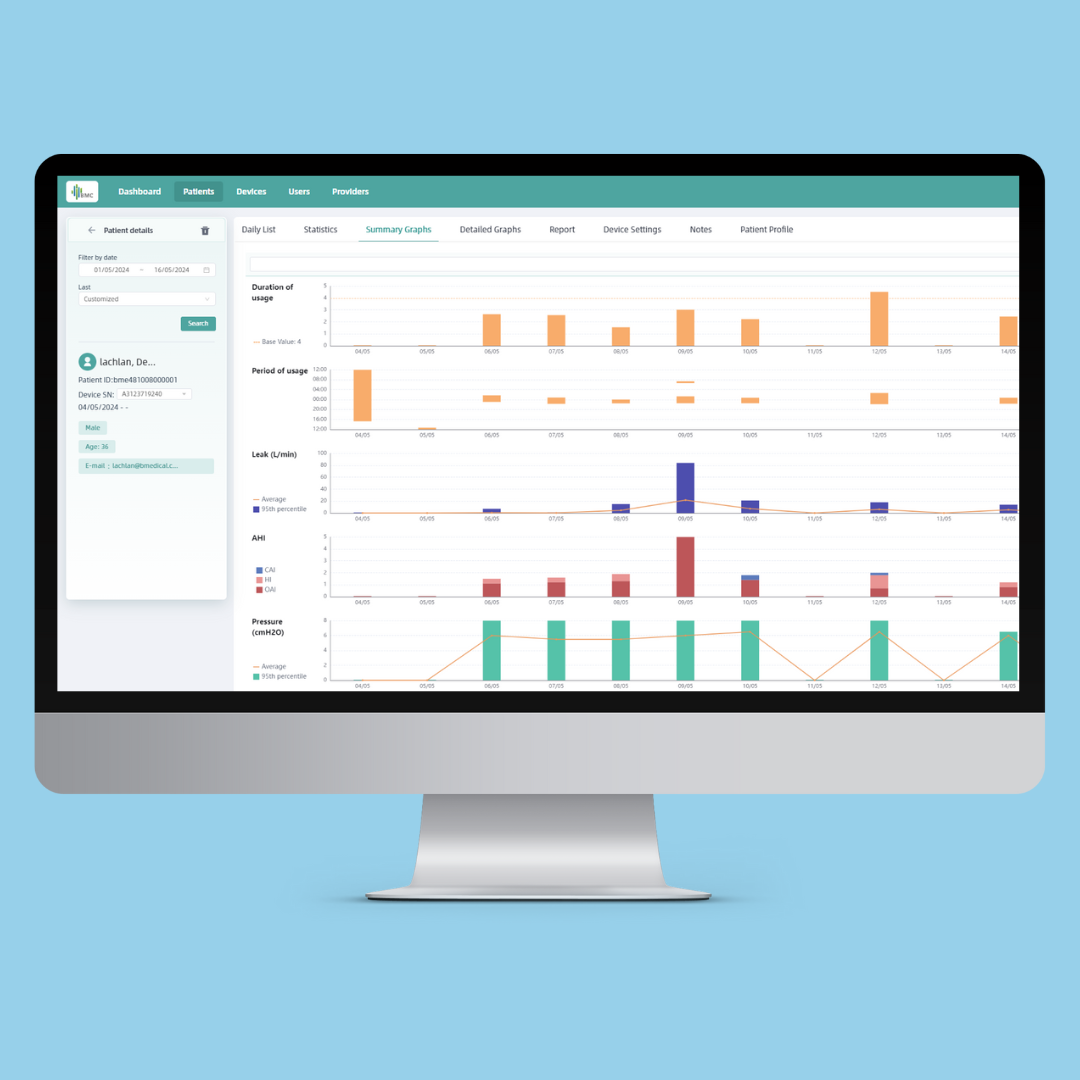
We are thrilled to announce the launch of the latest innovation from BMC – a new, state-of-the-art software portal designed for the remote monitoring of BMC ‘PAP devices.
Key Features:
- An intuitive design and improved clinician experience.
- Remote connectivity to all BMC G3 Series devices including Bilevels AND M1 Mini for patient therapy data uploads, report generation, and settings adjustment.
- View at-a-glance dashboards as well as detailed patient therapy data, including pressure event traces, breath-by-breath data imports, and on demand script changes.
- Customisable alert parameters to set up easy, clinic specific triaging of your database.
- And the option to invite a Sleep Physician to review patient data.
This all comes together to improve the clinician experience for streamlined patient management with access to accurate and up-to-date information giving you the ability to provide proactive care and make data-driven decisions.
If you are already a user of the current BMC portal then you will soon receive an email from the new portal inviting you to register for an account. Click on the register link in the email to set up your account. We are currently in the process of migrating all of your existing patients over to the new portal. Soon all of your patients and their current data will show up in your patient database in the portal.
The next step is to complete a firmware upgrade on each device to allow it to send any new data to the new portal. This can be done, in clinic or remotely. Here is a quick step by step to upgrade the firmware
Once you are up and running you can watch our quick portal walk through to help you get familiar with the new features.
As always, don’t hesitate to reach out to our team with any questions.
Contact:
1300 76 72 79
ACCESS THE NEW BMC PORTALFirmware Upgrade Guide
Use the below instruction guide or watch our video to get started.
- Go to the About Screen on the device and check that the firmware version
- If it is an APAP device and between 2.00.55 and 2.10.01- download these files
- If it is an APAP device and outside of this range- download this file
- If it is a CPAP or Bilevel device- contact your rep
- Remove the SD card from your device and insert it into the computers SD card slot
- Click on the file explorer on your computer toolbar
 . This will open a new window.
 - Click on Downloads from the left hand menu – In the right hand menu, select and copy (ctrl+ C) all of the files you have just downloaded. *important do not change the name of any of these files


- In the same window, click on the SD Card or USB (depending on your computer) from the left hand menu – In the right hand menu, delete all of the existing files on the SD card and paste (ctrl+ V) all of the new files you have just copied onto the card


- Once the files are appearing on the SD card, eject the SD card from your computer
- Unplug your G3 device at the point on the back of the machine and re-insert your SD card
- Press and hold Home
 and Knob
  buttons together, and then plug the power cord back in the device.

- When the screen displays a progress bar, then release the buttons. The firmware.
upgrade process will be finished automatically and change to “reading SD card” and the process is complete

10. After finishing the upgrade, access the “About” screen to check the ID. The 8th digit of the ID number should be [1].
