Bmedical Background 524019358

BMC G3 X CPAP/APAP

Bmc G3x Cpap Device

What’s New in the

G3 X (vs. G3)

1. New Optimised Algorithm

Bench-tested against five leading APAP devices in 2025, the G3 X demonstrated:

  • Accurate event identification (including obstructive & central apnoeas, hypopnoeas, flow limitation, snoring, CSR)
  • 100% agreement between estimated and real AHI values
  • Faster correction of obstructive events with lower pressure overshoot
  • Appropriate non-response to central events
  • Superior stability during Cheyne–Stokes breathing.

2. Much Quieter Turbine (New Hardware)

  • Significantly reduced operational noise on inhalation/exhalation
  • Smooth pressure titration to support comfort and compliance. 

3. Repositioned Flow Sensor

  • Reduced risk of water ingress
  • Improved signal quality for event scoring.

4. Integrated 4G Modem Standard

  • No longer optional
  • Direct real-time remote monitoring via PAPLink Portal.

5. Enhanced Performance Under Leak

  • Robust leak compensation that maintains therapy efficacy
  • Validated in bench testing under varying leak conditions.
see Bench test report

About

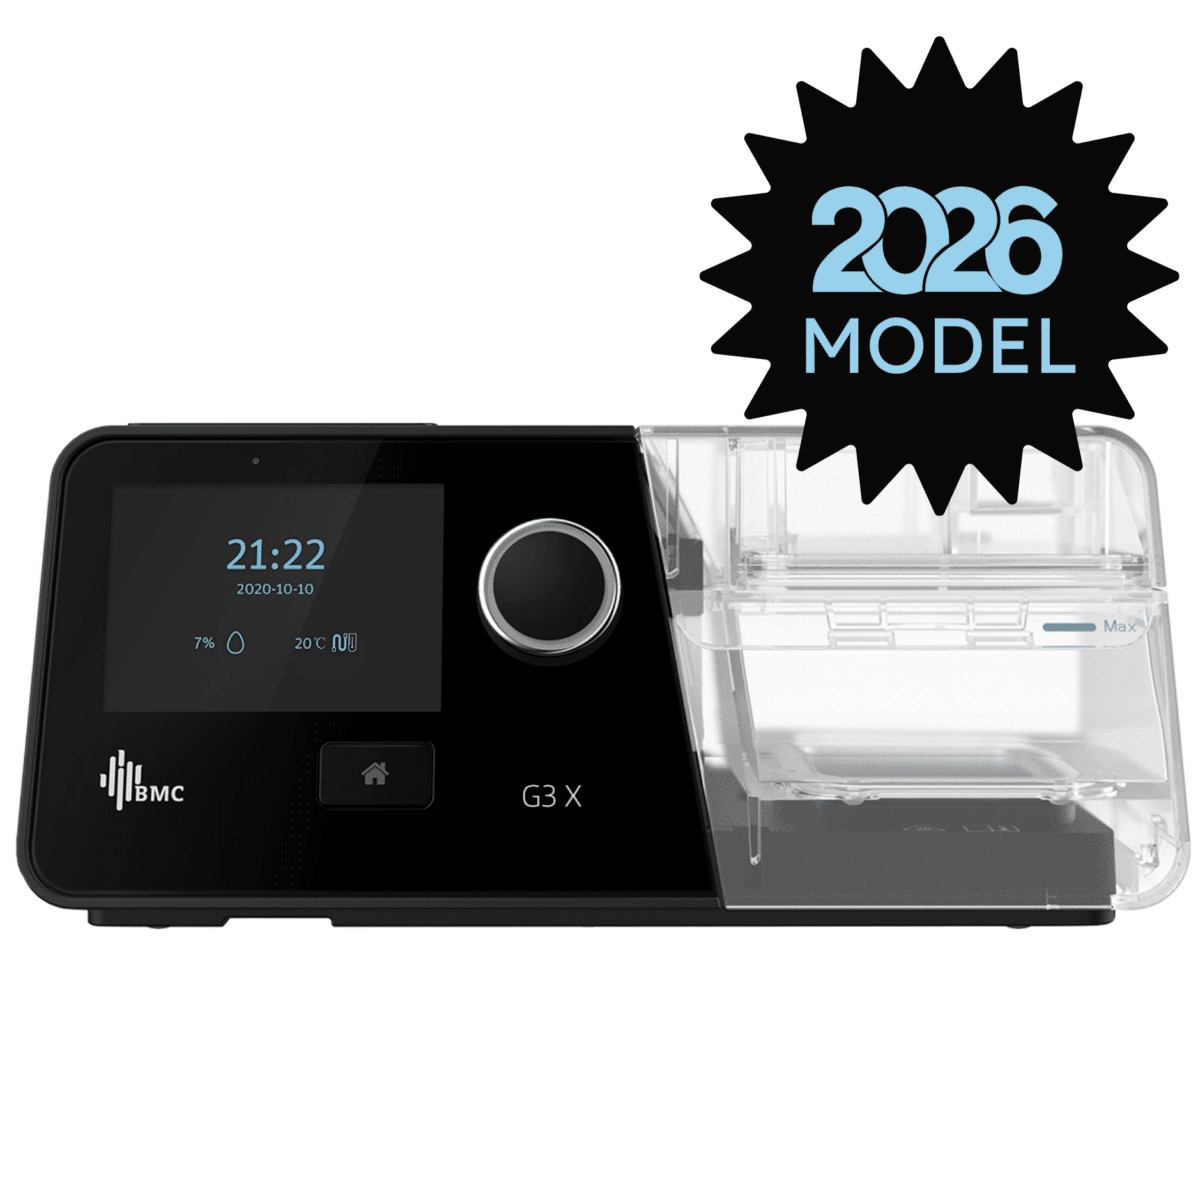
The BMC G3 X APAP and CPAP devices represent the newest generation of BMC sleep therapy technology in Australia.

The G3 X builds on the success of the G3 platform with major algorithm enhancements, hardware improvements, and standard 4G remote connectivity, delivering more accurate therapy, quieter performance, and improved clinician oversight via the PAPLink portal (please get in touch with the BMedical team to create an account). 

The G3 X is available as:

  • Auto-adjusting pressure (APAP) with integrated humidifier & heated tubing
  • Fixed-pressure CPAP with integrated humidifier & heated tubing.

Both models include BMC’s updated comfort and data features to support adherence and clinical management.

Patients can monitor their own therapy through the PAPLink Companion App (iOS & Android), while clinicians have full remote access through the PAPLink Portal (now via built-in 4G).

Device Inclusions:

  • G3 X APAP or G3 X CPAP with Smart Humidifier & Integrated Heated Tubing
  • Power cord & adaptor
  • Heated tube
  • Travel carry bag
  • Quick operation guide
  • SD card
  • Standard air filter
  • Optional fine particle/pollen filter (6-month replacement)
  • User manual
  • Free PAPLink Companion App access.

Features of the BMC G3 X APAP series:

  • Algorithm upgrade
    • Improved detection & classification of:
    • Obstructive apnoea
    • Central apnoea
    • Obstructive & central hypopnoea
    • Flow limitation
    • RERA
    • Snoring
    • CSR patterns
  • Stable Apnea-Hypopnea Index (AHI) reporting
  • Rapid but controlled pressure response for effective therapy
  • No inappropriate pressure increases during central events

Performance & Comfort

  • Quieter blower with multi-stage noise reduction
  • 4–20 cmH₂O pressure range
  • Auto-ramp
  • RESlex exhalation relief (3 levels)
  • Improved leak compensation

Humidification & Tubing

  • Integrated heated humidifier
  • Auto-humidity mode
  • Heated tubing with adjustable temperature & pre-heat

Data Access

  • On-screen sleep data
  • SD card (PAPLink software)
  • Built-in 4G modem for remote monitoring
  • PAPLink patient app

Additional

  • Accessory replacement reminders
  • Real-time leak alert
  • TGA registered

Optional Accessories

  • SpO₂ oximetry sensor
  • Fine-particle/pollen filter

Features of the BMC G3 X Fixed-Pressure series:

  • Algorithm Upgrade
    • Enhanced event detection & classification including:
    • Obstructive apnoea
    • Central apnoea
    • Obstructive & central hypopnoea
    • Flow limitation
    • RERA
    • Snoring
    • CSR patterns
  • Stable and accurate AHI reporting
  • Precise identification of central events with no inappropriate pressure increases
  • Improved algorithm responsiveness for consistent therapy at set pressure

Performance & Comfort

  • Quieter blower with multi-stage noise reduction (quietest BMC model to date)
  • 4–20 cmH₂O fixed-pressure range
  • Auto-ramp for gradual therapy initiation
  • RESlex exhalation relief (3 comfort levels)
  • Enhanced leak compensation for stable therapy delivery

Humidification & Tubing

  • Integrated heated humidifier
  • Auto-humidity control
  • Heated tubing with adjustable temperature settings
  • Pre-heat mode

Data Access

  • On-screen sleep data
  • SD card data access via PAPLink software
  • Built-in 4G modem for remote monitoring
  • PAPLink patient app for daily usage and compliance tracking

Additional

  • Accessory replacement reminders
  • Real-time leak alert
  • TGA registered
  • Available in white or black

Optional Accessories

  • SpO₂ oximetry sensor
  • Fine-particle/pollen filter (6-month lifespan)

Software

There are three ways to access data from BMC devices:

PAP LINK PORTAL DESKTOP SOFTWARE Iphone patient app android patient app

New PAPLink Portal

The new BMC portal is live; designed for the remote monitoring of BMC CPAP devices.

Key Features:

  • An intuitive design and improved clinician experience
  • Remote connectivity to all BMC G3 Series devices including Bilevels AND M1 Mini for patient therapy data uploads, report generation, and settings adjustment
  • View at-a-glance dashboards as well as detailed patient therapy data, including pressure event traces, breath-by-breath data imports, and on demand script changes
  • Customisable alert parameters to set up easy, clinic specific triaging of your database
  • And the option to invite a Sleep Physician to review patient data.

    The Process:

    1. The first step is to register for an account with our support team, or when you apply for a BMedical customer account.
    2. Once you are up and running you can watch our quick portal walk through to help you get familiar with the new features.
    3. Next, you can add your patients to the portal, and allocate a device to their profile. You can also add extra admin users to your PAPLink account if required.
    4. The third step is to check if the patient’s device requires a firmware update in order to communicate with the portal. This can be done, in clinic or remotely. See our Firmware Upgrade Guide below.

    Use the below instruction guide or watch our video to get started.

    1. Go to the About Screen on the device and check that the firmware version
      1. If it is an APAP device and between 2.00.55 and 2.10.01- download these files
      2. If it is an APAP device with earlier firmware sold in 2020-2021- download this file
      3. If it is a CPAP or Bilevel device- download this file
    2. Remove the SD card from your device and insert it into the computers SD card slot
    3. Click on the file explorer on your computer toolbar Image. This will open a new window.
    4. Click on Downloads from the left hand menu – In the right hand menu, select and copy (ctrl+ C) all of the files you have just downloaded. *important do not change the name of any of these files

    Image (1)Image (2)

    1. In the same window, click on the SD Card or USB (depending on your computer) from the left hand menu – In the right hand menu, delete all of the existing files on the SD card and paste (ctrl+ V) all of the new files you have just copied onto the card

    Image (3)Image (2)

    1. Once the files are appearing on the SD card, eject the SD card from your computer
    2. Unplug your G3 device at the point on the back of the machine and re-insert your SD card
    3. Press and hold Home Image (5) and Knob Image (6) buttons together, and then plug the power cord back in the device.

    Image (4)

    1. When the screen displays a progress bar, then release the buttons. The firmware.
      upgrade process will be finished automatically and change to “reading SD card” and the process is complete

    Image (7)

    10. After finishing the upgrade, access the “About” screen to check the ID. The 8th digit of the ID number should be [1].

    ACCESS PORTAL TRAINING MATERIALS

    If you don’t have a log in for the BMC PapLink Portal, contact your system administrator to create an account for you.

    If you are the system administrator and need assistance setting up an account email [email protected]

    Marketing

    Please follow this link to access the relevant marketing materials:

    BMC G3 X Marketing materials

    Warranty

    Please follow this link to access the warranty claim procedures documents

    Service Warranty Form

    To make a warranty claim or send a device for service, complete the Service Form and follow the instructions on the form for next steps. If in doubt, contact your rep for troubleshooting.

    G3 X – 5 years from purchase

    Humidifier water tub – 90 days from purchase

    Heated tube – 90 days from purchase

    Power cord and adapter – 90 days from purchase

    Sp02 sensor – 90 days from purchase

    DC Converter – 90 days from purchase

    Device Troubleshooting

    Access our library of troubleshooting videos and guides.

    If you still require troubleshooting support for a BMC G3 X Device, please contact our Product Support Specialist Lachlan Kann, at [email protected].

    FAQs

    Firmware Upgrade Guide

    Use the below instruction guide or watch our video to get started.

    1. Go to the About Screen on the device and check that the firmware version
      1. If it is an APAP device and between 2.00.55 and 2.10.01- download these files
      2. If it is an APAP device and outside of this range- download this file
      3. If it is a CPAP or Bilevel device- contact your rep
    2. Remove the SD card from your device and insert it into the computers SD card slot
    3. Click on the file explorer on your computer toolbar Image. This will open a new window.
    4. Click on Downloads from the left hand menu – In the right hand menu, select and copy (ctrl+ C) all of the files you have just downloaded. *important do not change the name of any of these files

    Image (1)Image (2)

    1. In the same window, click on the SD Card or USB (depending on your computer) from the left hand menu – In the right hand menu, delete all of the existing files on the SD card and paste (ctrl+ V) all of the new files you have just copied onto the card

    Image (3)Image (2)

    1. Once the files are appearing on the SD card, eject the SD card from your computer
    2. Unplug your G3 device at the point on the back of the machine and re-insert your SD card
    3. Press and hold Home Image (5) and Knob Image (6) buttons together, and then plug the power cord back in the device.

    Image (4)

    1. When the screen displays a progress bar, then release the buttons. The firmware.
      upgrade process will be finished automatically and change to “reading SD card” and the process is complete

    Image (7)

    10. After finishing the upgrade, access the “About” screen to check the ID. The 8th digit of the ID number should be [1].

    Sensitivity allows you to adjust how aggressive the algorithm is when responding to apnoeas. BMC Sensitivity Algorithm.pdf
    Sensitivity is divided into 5 levels where 5 indicates the most aggressive pressure adjustment while 1 indicates the least aggressive response
    When activated, the SmartA feature allows the device to adjust the minimum treatment pressure based on P95 for the previous 5 nights of therapy. 
    The G3 device sound is 26dB at 10cmH2O. 
    The most common culprit for a noisy device in any brand is a leak somewhere in the system: 
    1. Check that the mask is sealing well and not damaged- mask leak and type will impact the sound that you hear  from a device.  
    2. Check that the water chamber is ‘clicked in’ to the device correctly and closed completely. The chamber should be flush with the top of the device and clicked together with the front latches during operation
    3. If the sound is described as a gurgling sound- check that the water chamber is not filled above the max fill line – if so remove some of the water to below this line. Check that there is not water (“rain out” ) in the tube- see water in the tube FAQ to fix this 
    4. Check that the dust filter is clear of debris. 
    To check if a heater plate is operating correctly, remove the water chamber and set the humidifier to level 5. Start the device and test the heater plate temperature with your hand. This will take a few minutes to get up to temperature. 
    At level 5 the temperature will be 68 degrees and uncomfortable to touch for more than a few seconds. Check again at level 3 and level 1 to ensure the plate is providing reduced heating. 

    When the humidifier is set to ‘Auto’ mode the heated tubing cannot be selected or adjusted manually. Put the humidifier into manual mode to adjust the heated tubing separately.

    First unplug and re-plug back in. If the tubing remains ‘unconnected’ then there may be a fault with that tube. Try a different tube on the device and if it works then replace the tubing with a new one. If the tubing still remains ‘unconnected,’ there may be a fault with the device that requires further investigation.

    *Ensure that a ResMed power cable is not being used with the BMC device. It does fit in the port but  will not power the heated tubing.

    Water in the tubing or mask is caused by the air cooling as it travels from the humidifier through the  tube and mask and condenses back into water. 
    If there is excessive condensation, check first that the tubing is working  and shows as connected. 
    If this is working, you can either reduce the temperature of the humidifier to reduce the amount of moisture being created OR /and increase the heated tube temperature. 
    If you have tried adjusting settings and condensation is still being experienced, this will be because the air is cooling in the tube so check that the room is not excessively cold or the tubing isn’t directly under an air conditioner that is causing the air to cool too quickly.  If this is happening you may try putting the tubing under a blanket to insulate it from chilly room. 
    If a BMC device is reported to be or appears to be ‘pulsing’ during operation, the flow sensor may have been blocked. This is a result of water ingress into the device that can occur if it has dropped with water inside the chamber, been transported with water in the chamber, or if excessive uncontrolled rainout is allowed to persist.
    To confirm water ingress into the flow sensor, start pressure to the device with water chamber attached and no tubing. On the device screen the flow rate will display in L/min. an unobstructed flow sensor will display a flow rate of 155-170L/min of air. If the flow rate is significantly lower than this, jumping up and down erratically, or reading 0L/min, then water ingress is confirmed.
    If the flow sensor has been damaged by water ingress it may need to be replaced.
    *Note, water damage is not covered under warranty
    • Check to see if there are any messages on the screen. If the accessories alerts are turned on and the time-period set has elapsed, the device will alert to change the accessory until this period is reset. Turn accessory reminders on/off in the Settings menu.
    • Check to see if ‘leak alert’ is turned on. This will alert for high leaks during therapy.
    • If an error message appears on the screen with an error number, please contact
    • BMedical for assistance and let us know the error number to assist in diagnosis of the fault
    • If you are using a Bilevel device- check the screen for alarm messages and make adjustments as suggested on the screen. 
    Save this image to the page- BMC WIFI Troubleshooting flow chart.pdf
    Check out our wifi connection troubleshooting guide here – BMC G3 Series WIFI Troubleshooting Guide.pdf
    Initially, not all BMC G3 Series devices had a WIFI module installed. If the ‘WIFI’ menu cannot be selected on the device, then there is no module installed. To confirm, check the ‘About’ screen in the device settings menu. It will show the WIFI serial number and PIN code if a module is installed.
    Guide for creating reports in PAP Link desk top software- BMC PAP Link Software Quick Guide.pdf
    Guide for creating reports in PAP Link App- BMC PAP Link App User Manual.pdf
    *Note dates are in the US format
    The PM2.5 filter fits inside the housing in the back of the device in place of the standard filter. This filter will protect the device from finer particles of dust and allergens. These are recommended for patients in dusty areas, near construction, in areas with bush fires or if  the patient suffers from allergies or asthma. 
    This filter lasts for 6 months and does not require cleaning. The entire cartridge should be replaced after 6 months of use.

    A BMC G3 Series device does not turn on or is not providing power to heat the humidifier or heated tube, please first check to ensure the AC/DC power cable is working correctly. There should be a green light on the power pack when plugged in. Try a different power cable on the BMC device to see if this powers the unit correctly.

    *Ensure that a ResMed power cable is not being used with the BMC device. It does fit in the port but will not power the heated tubing.

    If power issues persist with a new power cable attached, there may be a fault with the BMC device that requires further investigation.

    SP-100 oximetry kits sold after July 2023 are not automatically compatible with BMC G3 units sold prior to in May 2023. Compatibility is possible but the firmware will need to be upgraded on the G3 device.

    Here are the instructions on how to update the firmware– If you aren’t sure please feel free to contact your BMedical rep for support.

    Back to product resources